No Half Measures
04 Oct 2020
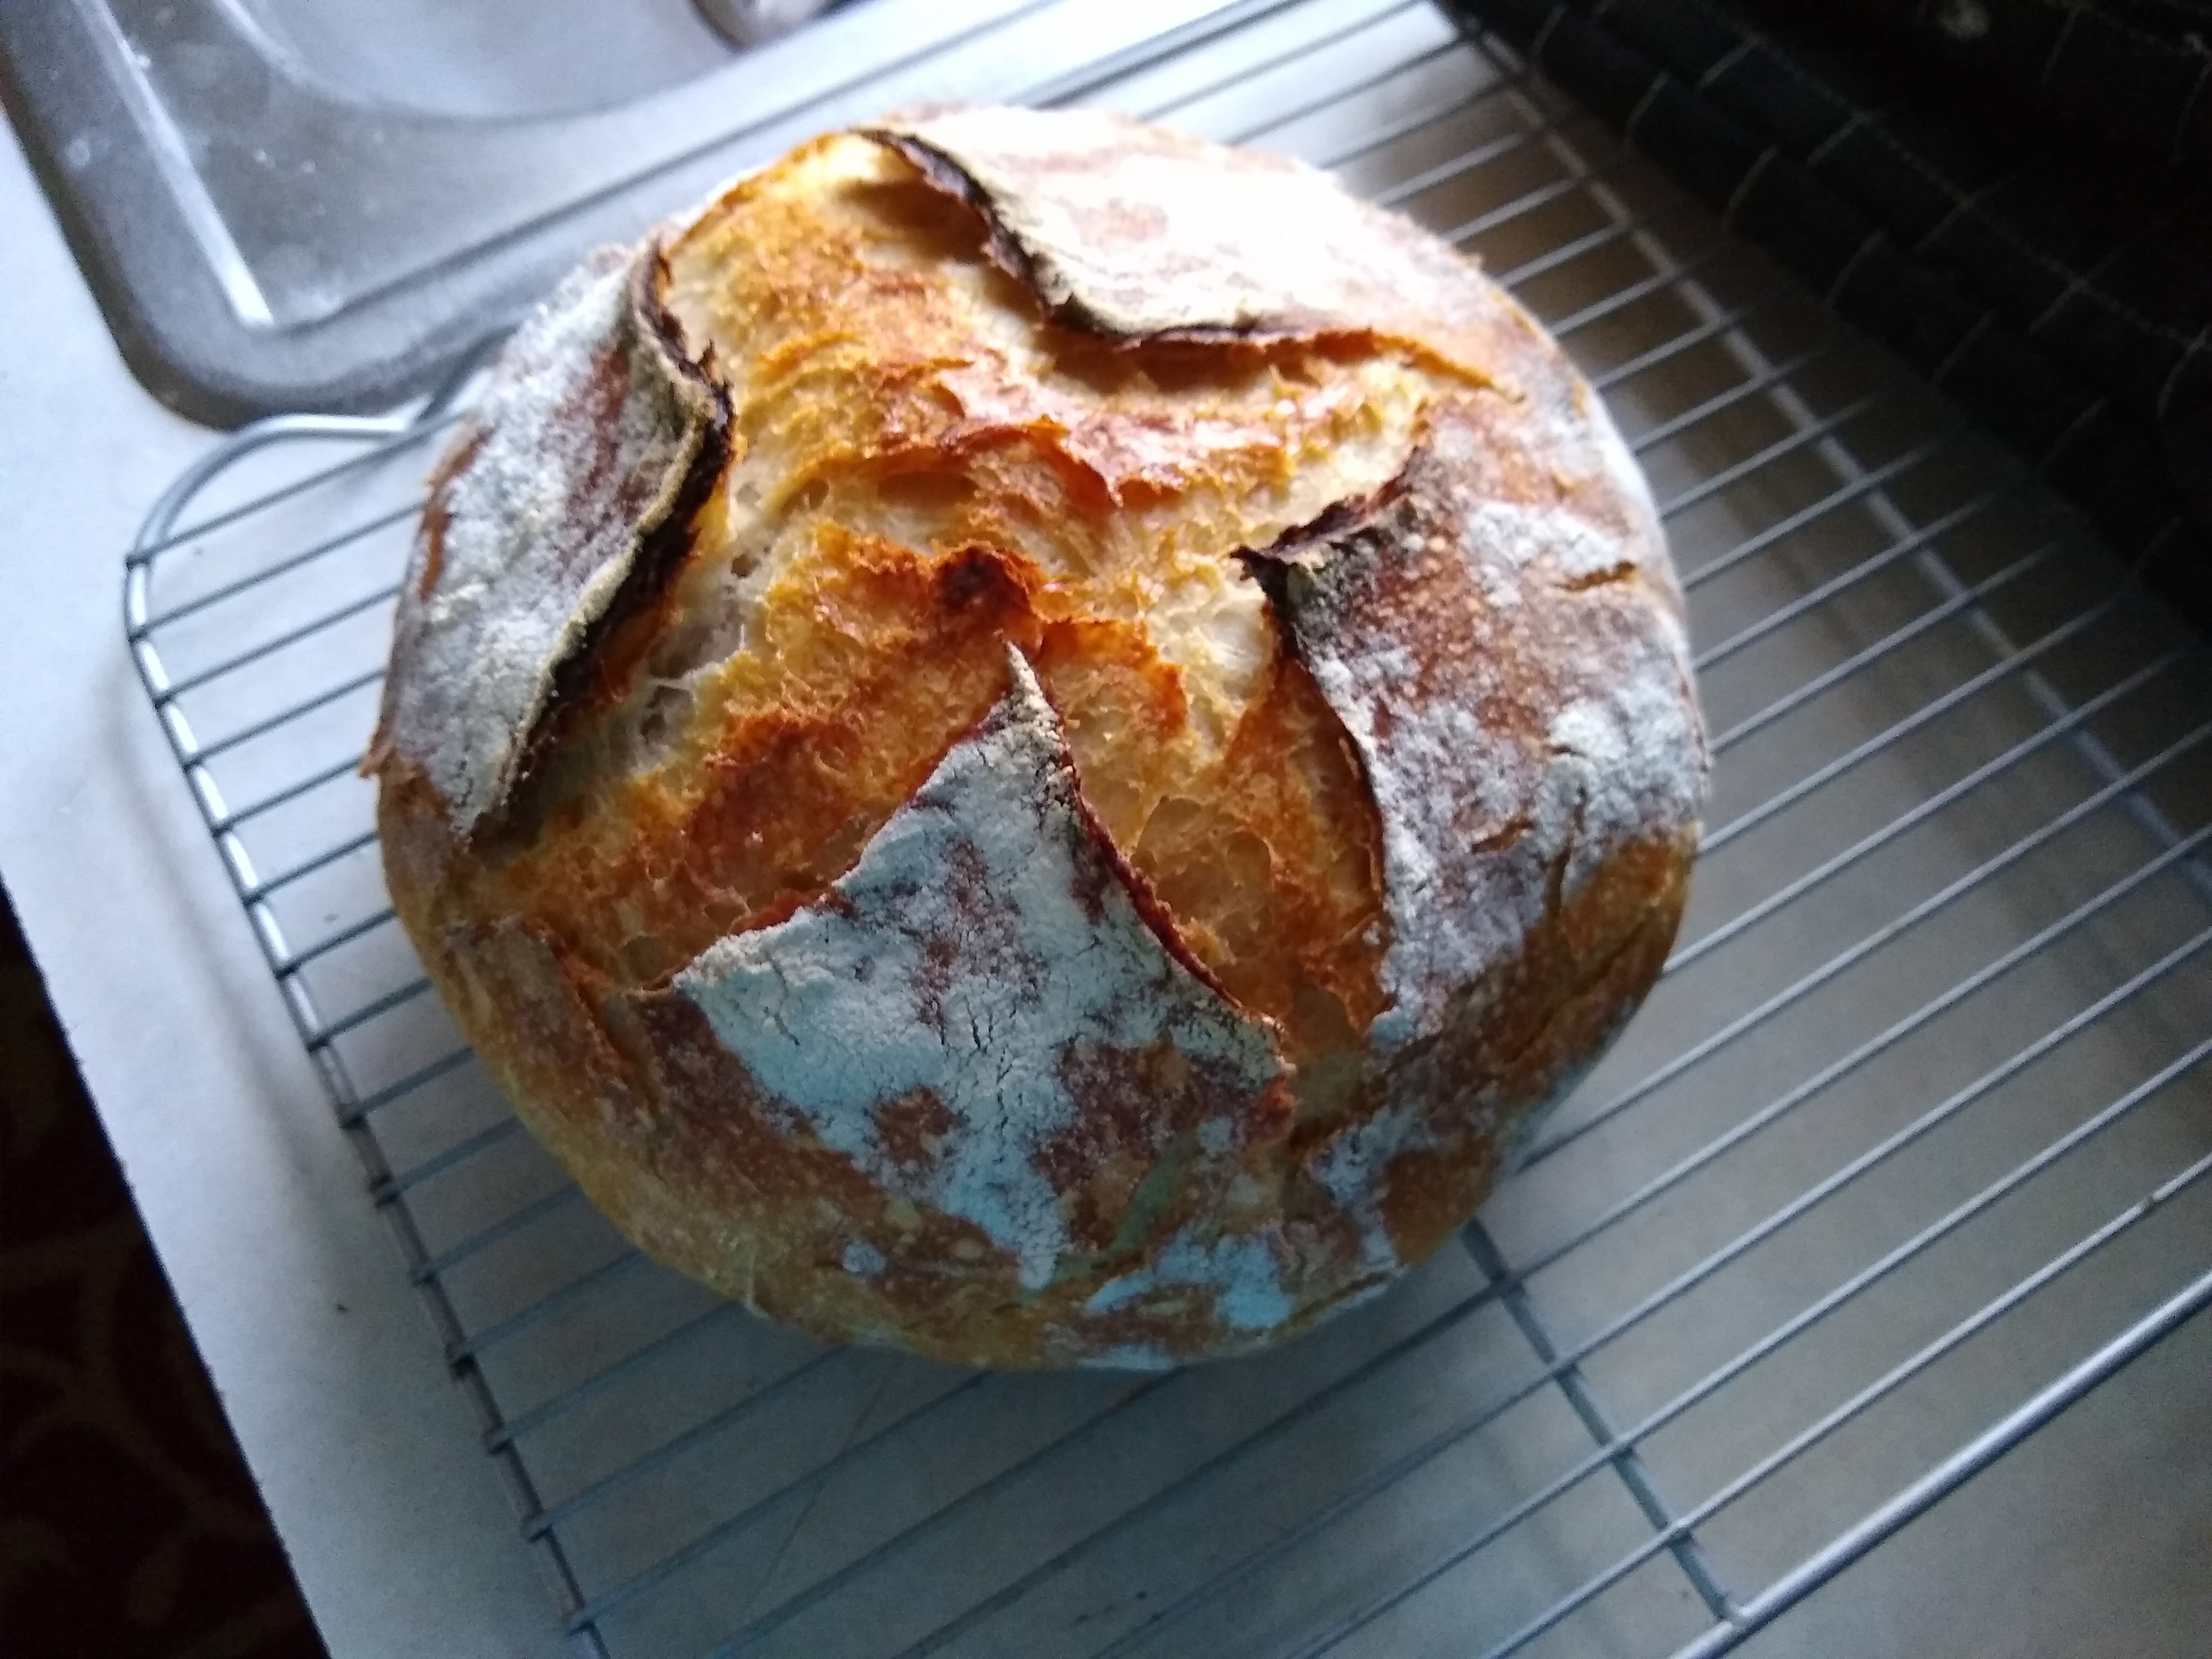
Everyone went crazy for sourdough in 2020. I had tried my hand at it before, starter and everything, so I wasn’t swept up in the first wave. However, it was bound to happen: a friend gave me some of their starter and off we went again on the sourdough bread kick.
Don’t get me wrong - I love a thick slice of fresh bread. We just don’t eat that much bread, and it adds the pressure of finishing a loaf before it goes bad. Plus you need to refresh the starter, and my frugal heart hates just throwing it away! I started making sourdough waffles with my discard for exactly this reason!
Returning from the tangent - one of the main problems I had is that we keep our house cool, around 60°F in the wintertime. As we were descending into the cooler fall months, I noticed that my proofing bread was less and less happy just sitting on the counter, sometimes taking 18 hours or more to show signs of proofing, and never really doubling in size.
Luckily, I had some ideas! Proofing dough likes to be kept at about 80°F. I had a seedling warming mat from some halfhearted attempts to start my own seeds last spring (I’m just not that motivated in February, it turns out) and a cardboard box. Why not?
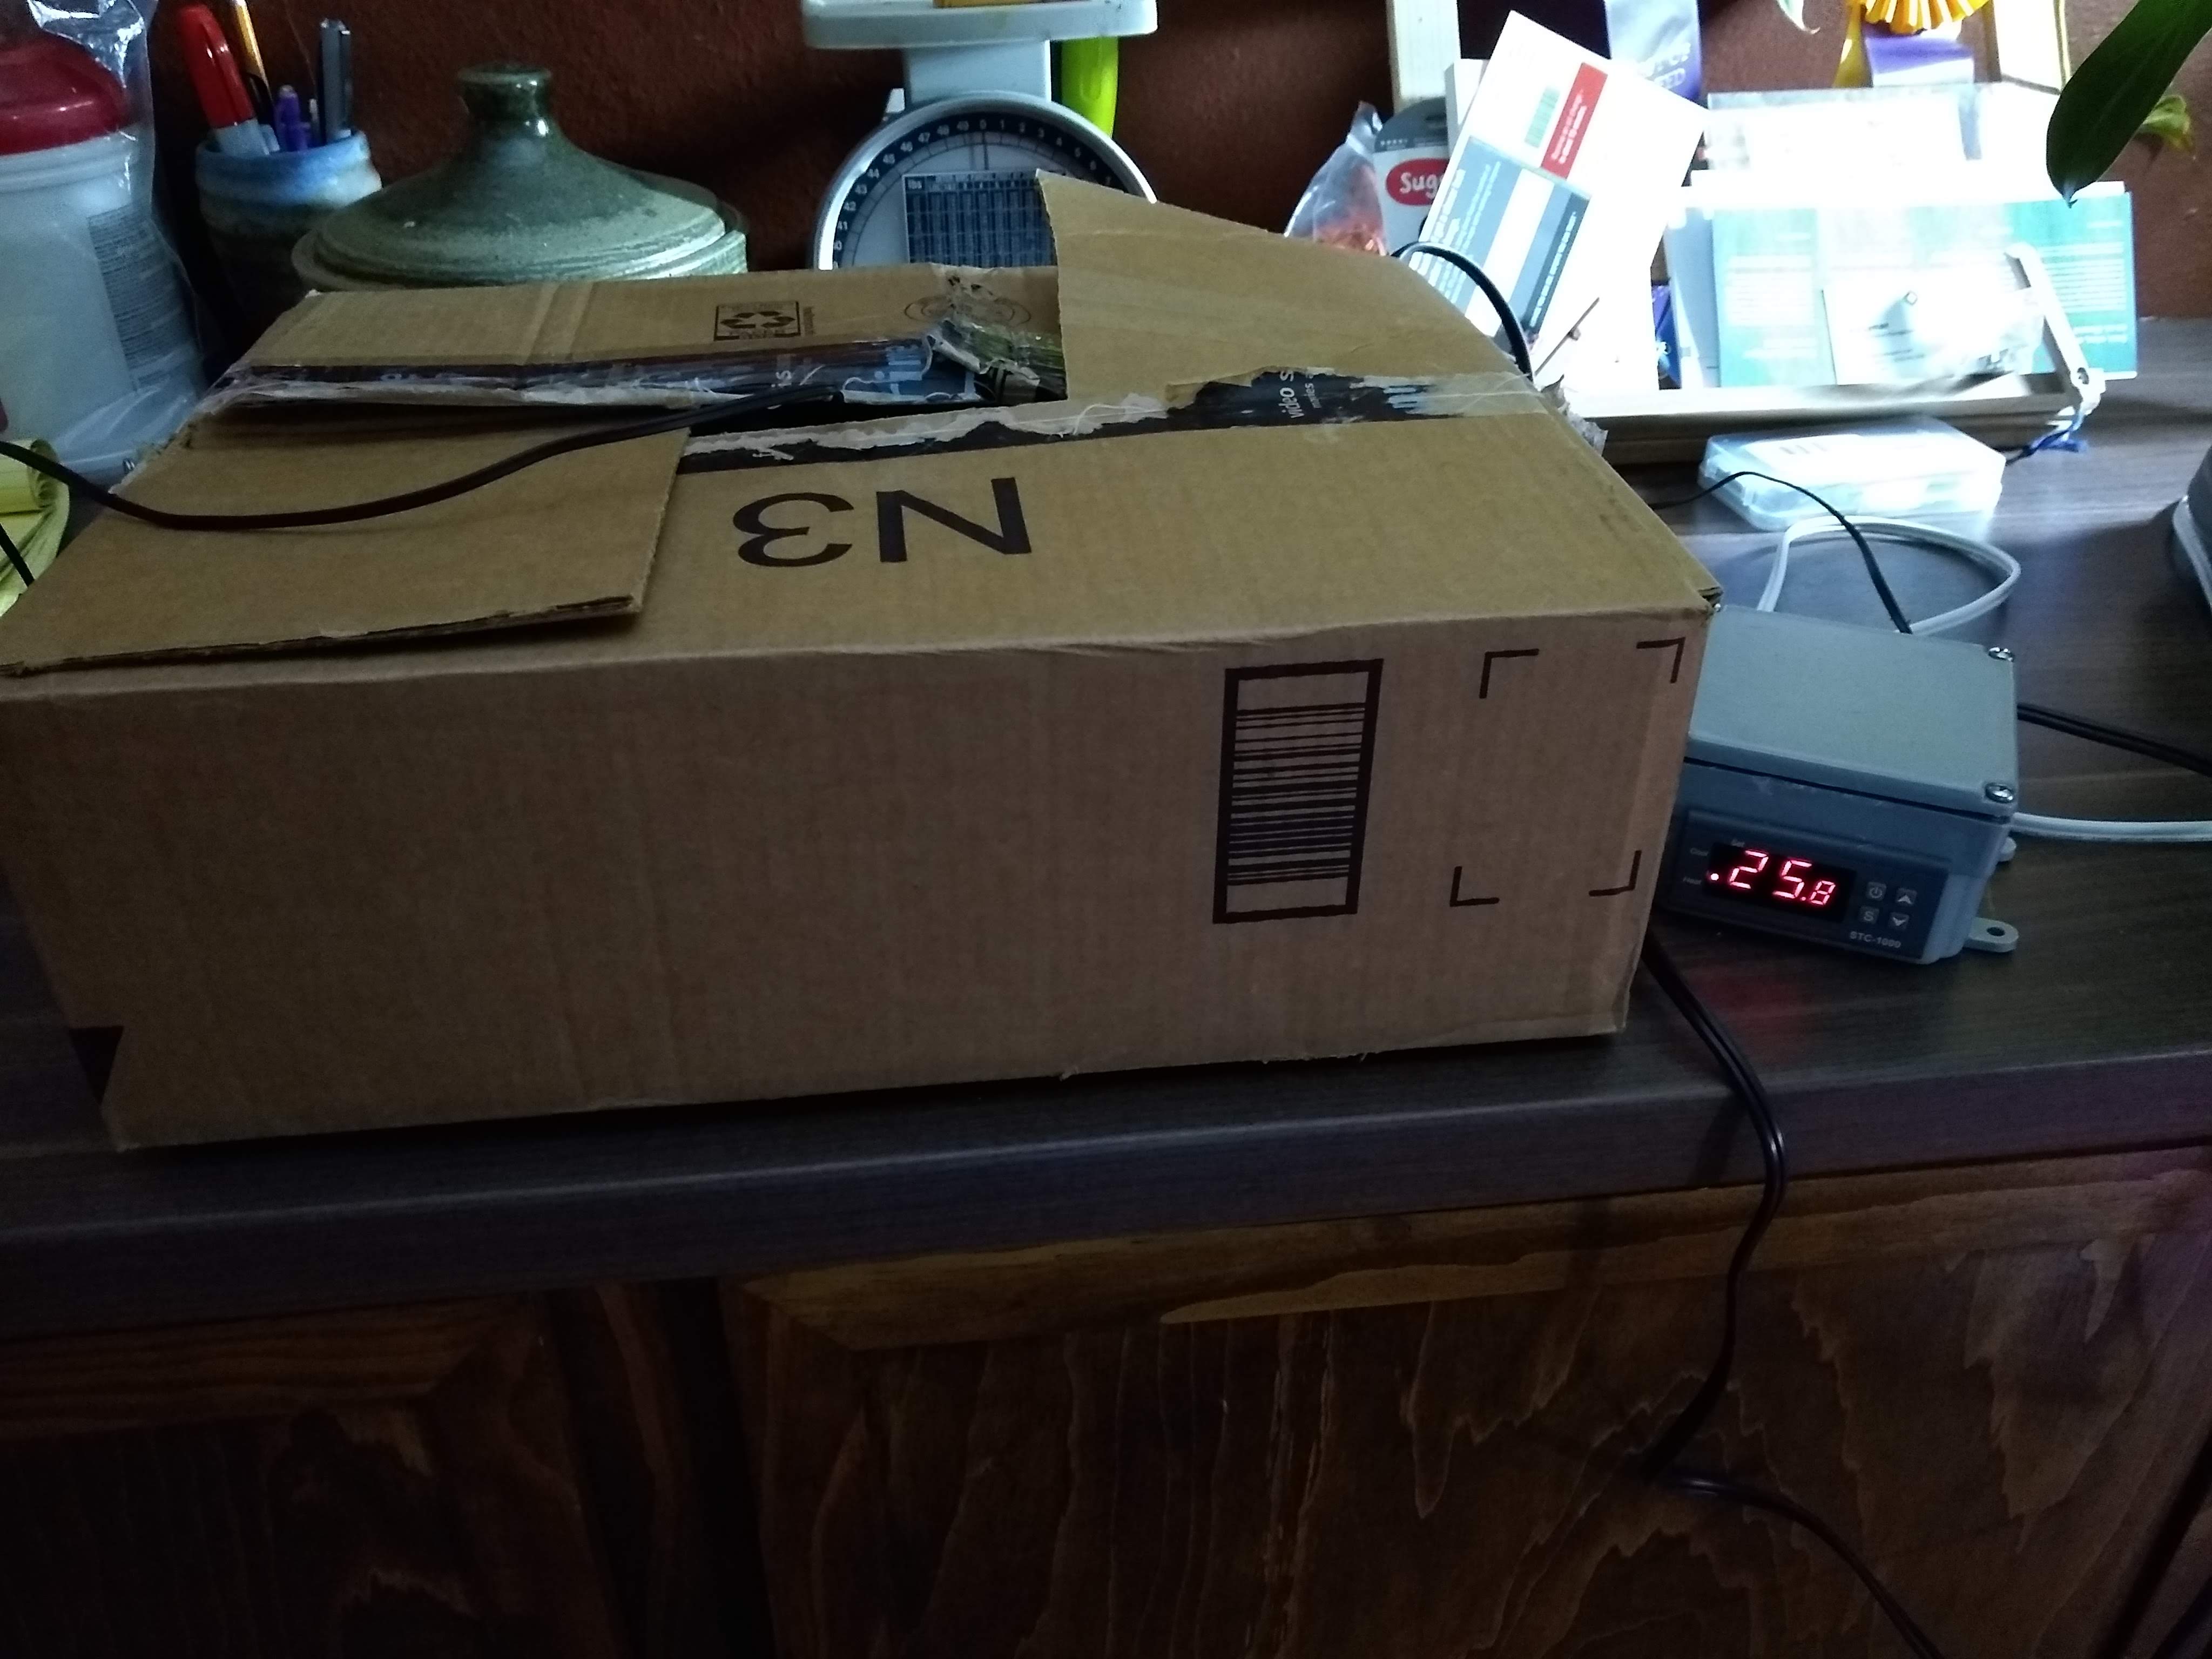
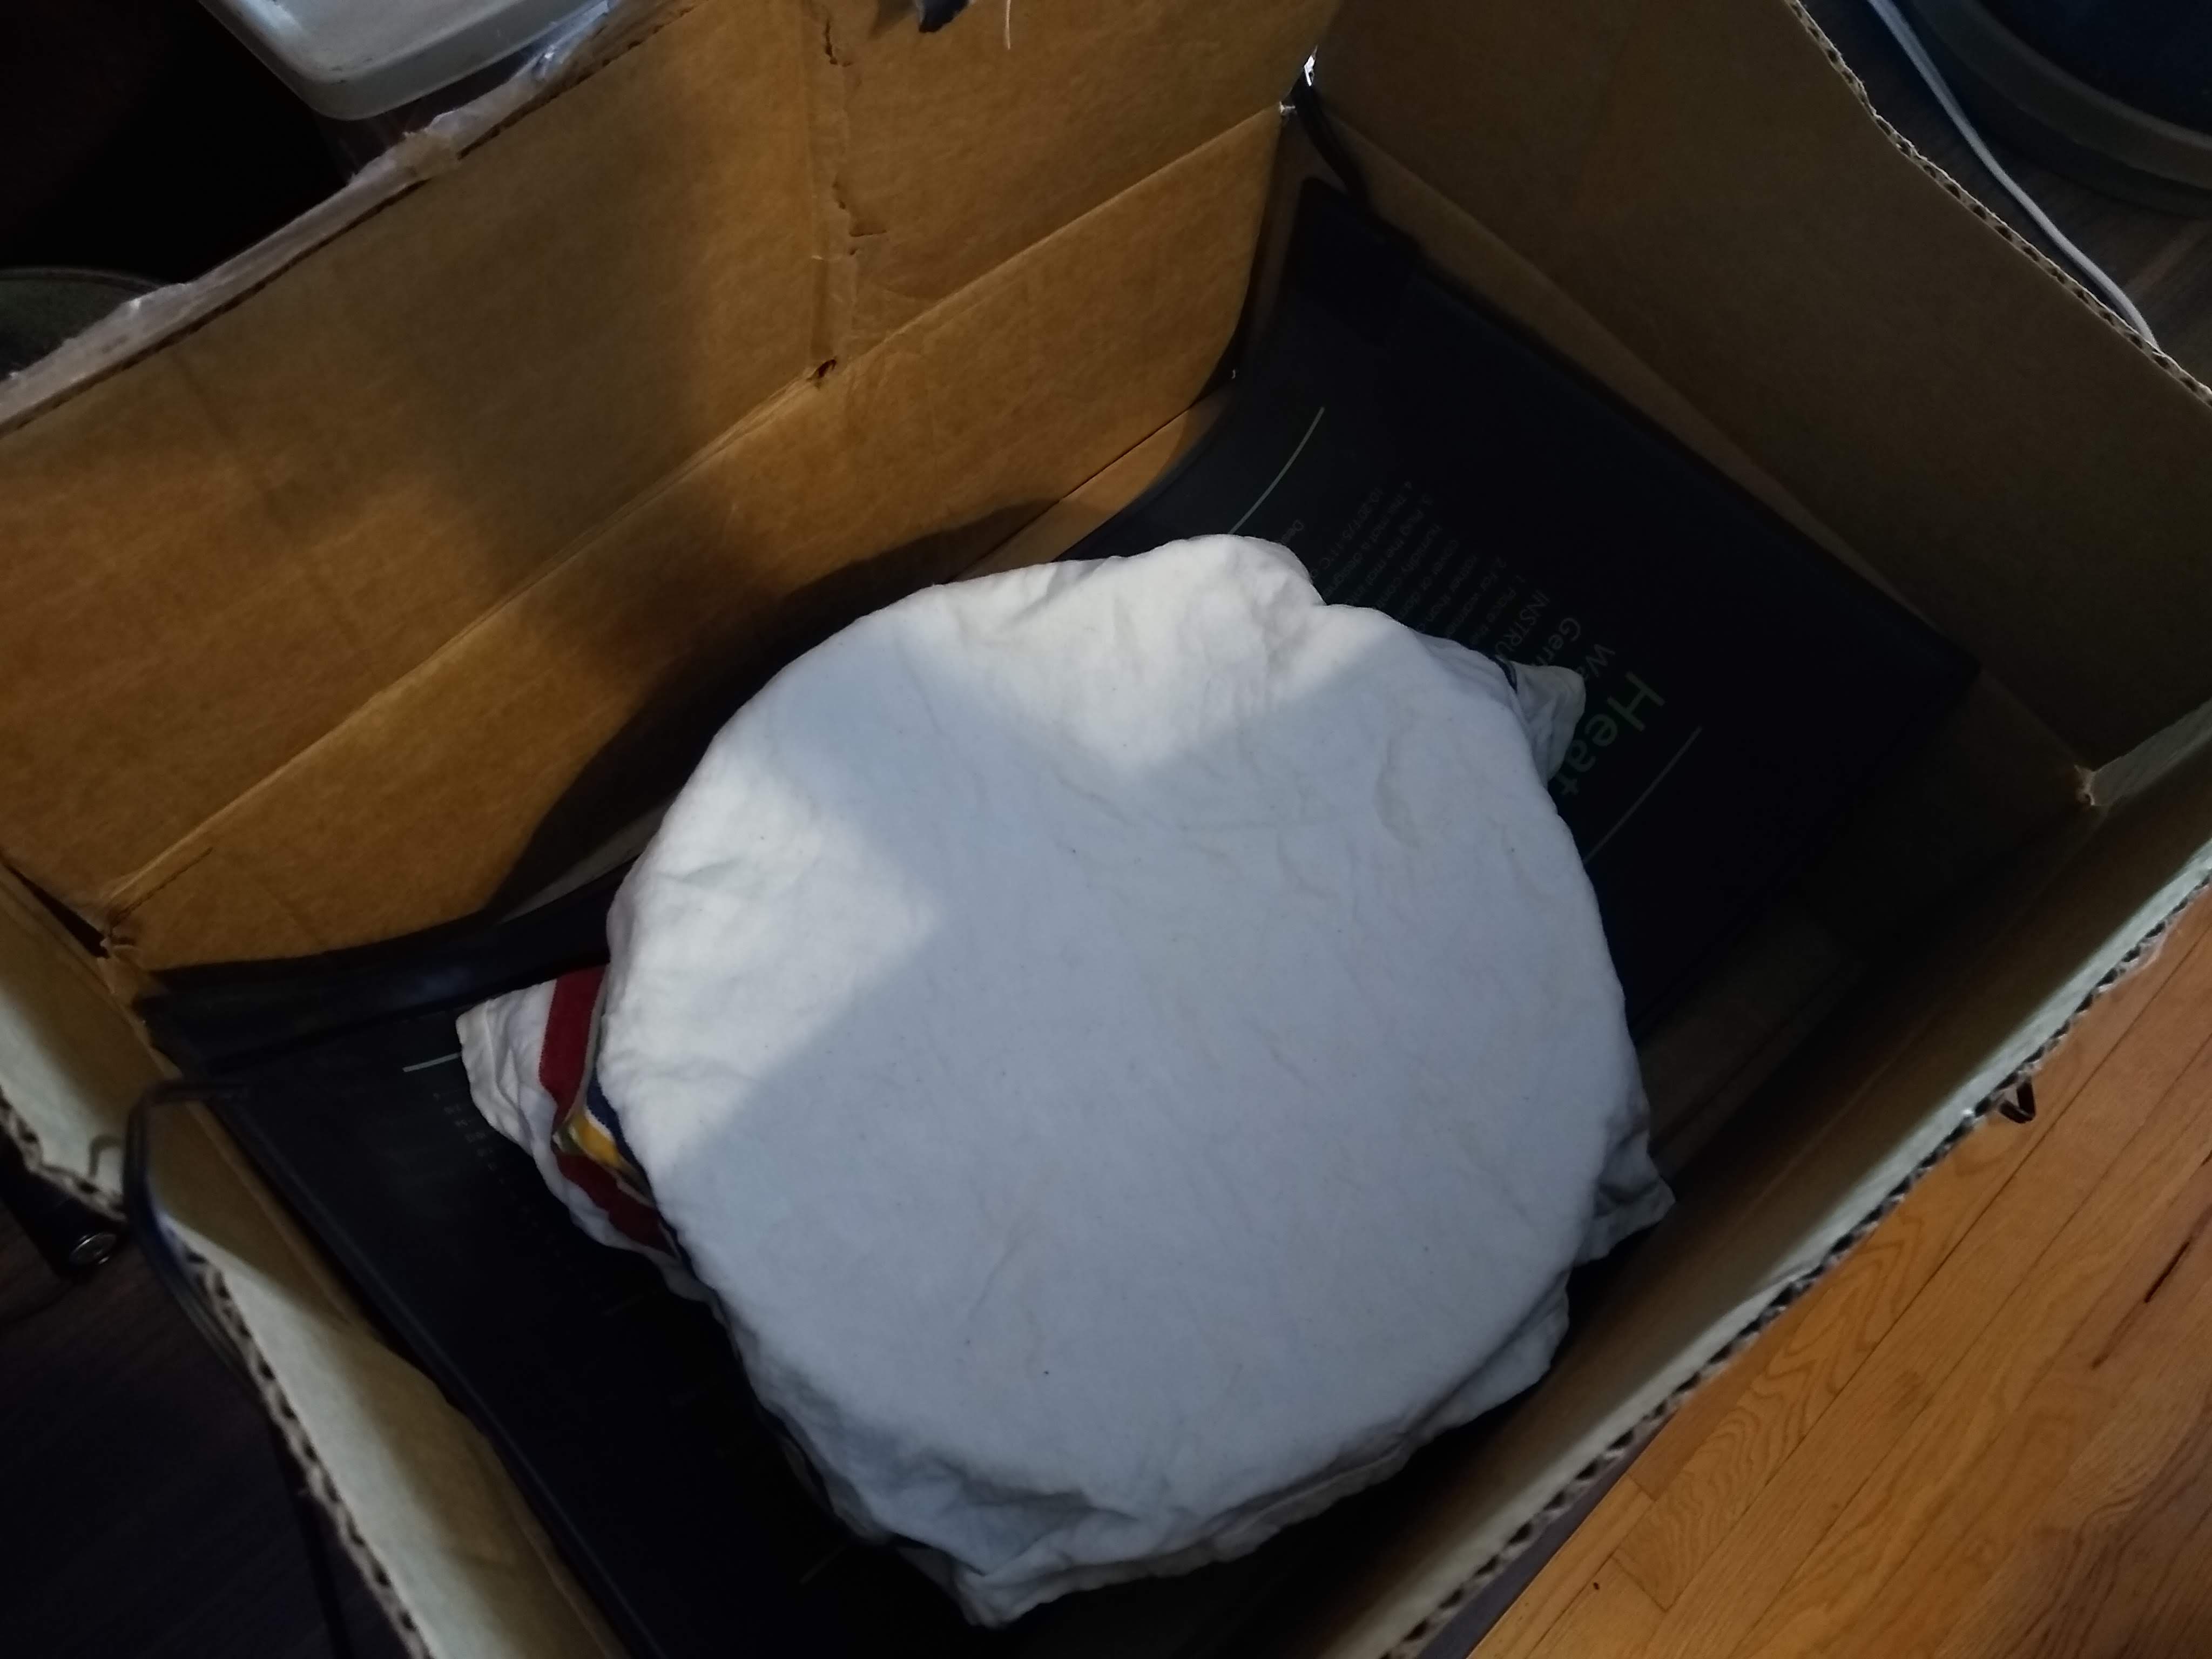
The seedling mat only operates as “on” or “off”, depending on whether it’s plugged in. This is fine for seedlings, not great for bread. So my husband wired up a STC-1000 temperature controller, that monitors the internal temperature with a probe and turns the seedling mat on or off accordingly. The interface is incredibly opaque, and if you’re using one you’ll need this user guide basically every time you want to change the holding temperature. But it works pretty well, and the proof is in the proofing!